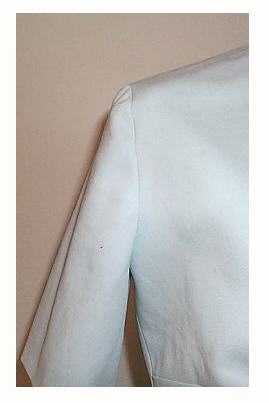
Sewing a Set In or Smooth Cap Sleeve
Follow the steps below for setting in the perfect smooth cap sleeve. Also...read Karen's article in Threads on Setting in the Perfect Sleeve
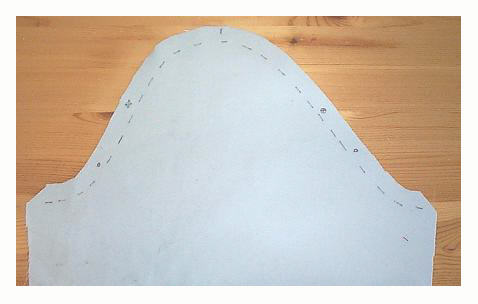
- Use your sewing gauge to mark the sewing line on the sleeve cap. Mark on the wrong side using a thin line marker.
Mark front and back and ease points. (See the Sewing Guide Sheet)
- Sew the side seam on the sleeve. Press the seam allowance open.
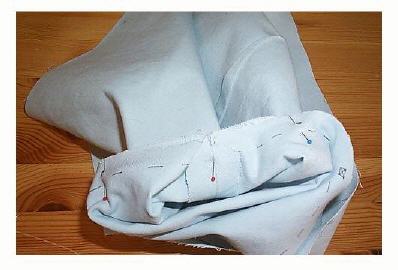
- Match the sleeve seam and underarm bodice seam and pin. Match the shoulder mark on the sleeve cap and the shoulder seam.
Pin this way. Insert the pin on the sewing line and point the pin towards the cut edge of the sleeve. Hold up the bodice and
sleeve to make sure it is correct.
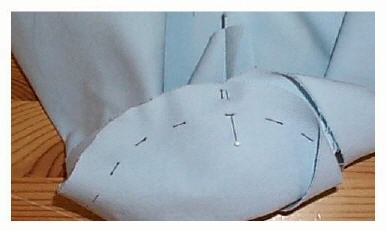
- Match the ease dots on the pattern. Pin at the ease points inserting the pin on the sewing line pointing out. The sleeve is
not eased between the ease dots and then underarm seam. It should lay flat.
- The sewing line between the notches and the shoulder on the sleeve is longer than the sewing line on the bodice.
This is why it needs to be eased in place. But, the difference isn’t great. Usually each side of the sleeve cap is only 1/2 to 1
inches greater. This is not a lot to ease into 6 to 7 inches. Hold the armhole with the bodice down and the sleeve on top. You need to
hold it in your hands to do this. Visually divide the are between the notch and shoulder on the garment and sleeve and put in one pin.
Be sure you pin on the sewing line pointing out. Repeat by dividing the area on either side of the first pin. You can already see how the
sleeve cap is fitting the armhole.
Think Sewing Line. The difference between the cut edges of the armhole and sleeve is about 3 inches total while the sewing line difference is usually 1 to 1 1/2 inches.
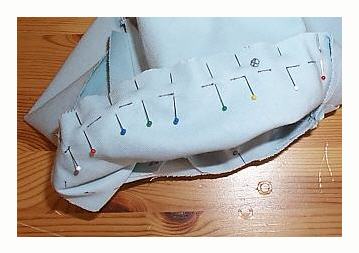
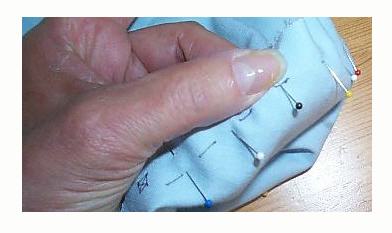
- Repeat creating smaller sections. You should be able to do this with 7 pins between the notch and shoulder. You may use
more pins but don’t over do it. To see how the fabric is fitting place your thumb on the seam allowance. You can see how nicely
the sleeve cap fit.
- Repeat for the other side of the sleeve cap.
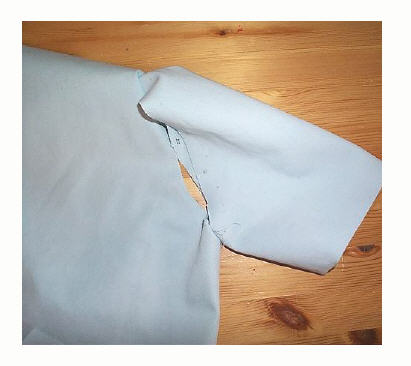
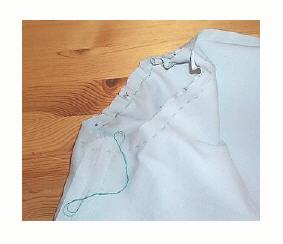
- Hand baste the sleeve in place using stitches about 3/8 inch long. It is much easier to take out the basting than machine stitches.
Try on the garment to check the fit.
- Machine stitch the sleeve in place. I sew with the sleeve on top. Let the machine move the fabric. Pulling the sleeve though
or holding back will defeat your careful pinning and basting.